Showing posts with label foundation piecing. Show all posts

Wednesday, 26 August 2015

Accepted..

Good news, got the official letter in the mail yesterday..my quilt has been accepted at the OEQC and is definitely going to Maastricht in October.

Gisteren viel de officiёle brief op de mat (nou ja.. eigenlijk viel het in de brievenbus)..mijn quilt is geaccepteerd bij de OEQC en gaat in oktober naar Maastricht.

Most of the background quilting is done, only the borders left to do, and lastly some finishing touches with beads.

Het meeste quiltwerk is nu gedaan, alleen nog de randen te gaan..en dan de puntjes op de i door met wat kralen te versieren.


Last week I completed block 2 and 3 of the stars BOM.


Vorige week de laatste hand gelegd aan blok 2 en 3 van de sterren BOM.


Yesterday made a start with block 4..
Gisteren begonnen aan deel 4..


Written the colours down on a copy of the pattern and cut out all the pieces, then cut out all the fabric pieces and sorted all these in two boxes, 1 for all the A-parts and 1 for all the B-parts ..
next time I will lay them all out, this way I will make sure not toget the same fabrics next to eachother.. and then make little packages for each paperpiecing part..ready to be sewn together.


Op een kopie van het patroon eerst alle kleuren ingevuld en toen alle deeltjes uitgeknipt, de stofjes daarbij uitgeknipt en gesorteerd in 2 doosjes, 1 doos met alle delen A en 1 doosje met alle delen B ..
volgende keer alles uitleggen om ervoor te zorgen dat niet 2 dezelfde stofjes naast elkaar komen te liggen, en dan voor ieder paperpiecing onderdeel stapeltjes maken...klaar om in elkaar te zetten.

That's all for now..
Meer de volgende keer..

'till next time!
Essie

Saturday, 8 August 2015

Another star and some more..


Looking back done quite a bit this last week.
Prepared all the pieces for my third star, traced the patterns onto interfacing, cut out all the pieces and made little packages..


De afgelopen week al met al toch nog aardig wat gedaan.
Eerst de derde ster voorbereid, patronen overgenomen op vlies, alle stukjes uitgesneden en pakketjes gemaakt..


Once that was done, it didn't take long to piece together.


Zodra dat was gedaan duurde het niet lang om het blok in elkaar te zetten.

The most time was spent deciding on what fabric to use, sitting on the floor in my pj's surrounded with all the different fabrics, no picture but i'm sure you can imagine!! ..;))  I decided to go for just orange on this one.

De meeste tijd zat in het kiezen van de stof, al zittend op de vloer in mijn pyama met alle stofjes rondom me heen verspreid, geen foto gemaakt maar je kunt het je vast wel voorstellen!! .. ;))
Heb besloten om deze helemaal in het oranje te maken.


I've also been busy with the blocks that will go in between the star blocks.
Verder ben ik ook nog bezig geweest met de blokken die tussen de sterren gaan komen.


And in between done some quilting too.
I prefer to neatly tug away all my loose threads, just as you would when hand quilting. For that I use a special needle, it is a needle that has a little hook in its eye so you can just click in two threads at a time, it is really easy and quick.

En tussendoor ook nog wat gequilt. 
Ik hou er niet van om de draadjes af te knippen en werk ze altijd netjes weg, zoals je bij het handquilten ook zou doen. 


Ik gebruik hiervoor een speciale naald, deze heeft een oog met een haakje zodat je de draad er in kan klikken ipv door het oogje te steken, werkt heel gemakkelijk en vlug want je kunt 2 draden tegelijk nemen.

Have a nice day and see you soon!

'till next time!
Essie

Saturday, 25 July 2015

Too long..

It has been too long since I last posted..more than a year. But I am back and will try my best to post more often!
Het is alweer veel te lang geleden sinds ik mijn laatste blog heb geschreven. Maar ik ben weer terug en hoop toch weer wat vaker te gaan bloggen!

Referring to my last post, I did finish the quilt (just in time). Had a lot of problems with the quilting, my machine kept skipping stitches. So frustrating, that meant stopping, unpicking en starting again...the quilt nearly went flying (out the window!) LOL
But it was worth it in the end as (to my big surprise) I was rewarded with a second prize  :)))

Om een link te maken naar mijn laatste bericht, ik heb de quilt af gekregen (net op tijd). Had erg veel last met het doorquilten, mijn machine bleef steeds steken overslaan. Heel frustrerend, telkens stoppen, uithalen en weer opnieuw...het scheelde niet veel of hij was gaan vliegen (uit het raam!) LOL
Maar het was het dubbel en dwars waard want tegen mijn verwachting in toch nog een tweede prijs gewonnen  :)))

All the awarded quilts went on tour and this year they went to Moscow, to my big surprise they had used a picture of my quilt in their catalogue. If any one can read Russian?..I would love to know what it says?? 

De prijswinnende quilts zijn dit jaar o.a. naar een quilt tentoonstelling in Moskou geweest, en tot mijn grote verbazing stond er in het catalogus boekje een foto van mijn quilt. Als iemand russisch kan lezen?..ik ben wel erg benieuwd naar wat er staat??


But back to the present day...I have not been idle and am busy with this year's quilt for the OEQC. The theme is "The People" and I am making something with:

Maar nu weer terug naar het hier en nu...ik heb natuurlijk niet stil gezeten en ik ben alweer druk bezig met de quilt van dit jaar voor het OEQC. Het thema dit jaar is "Het volk" en ik ben iets aan het maken met:


Paperpiecing, these pieces have lots of tiny strips, and thus a lot of cutting..

Paper piecing, deze stukken hebben heel veel piepkleine stroken, levert dus ook heel veel snij- afval op...


This piece is also done with paper piecing..
Ook gemaakt met paper piecing..


And it wouldn't be one of my quilts without a drawing in it, first drawn with a waterproof pen en then coloured in with Inktense pencils..

En het zou mijn quilt niet zijn zonder een tekening erin, eerst getekend met een watervaste pen en daarna ingekleurd met Inktense potloden..


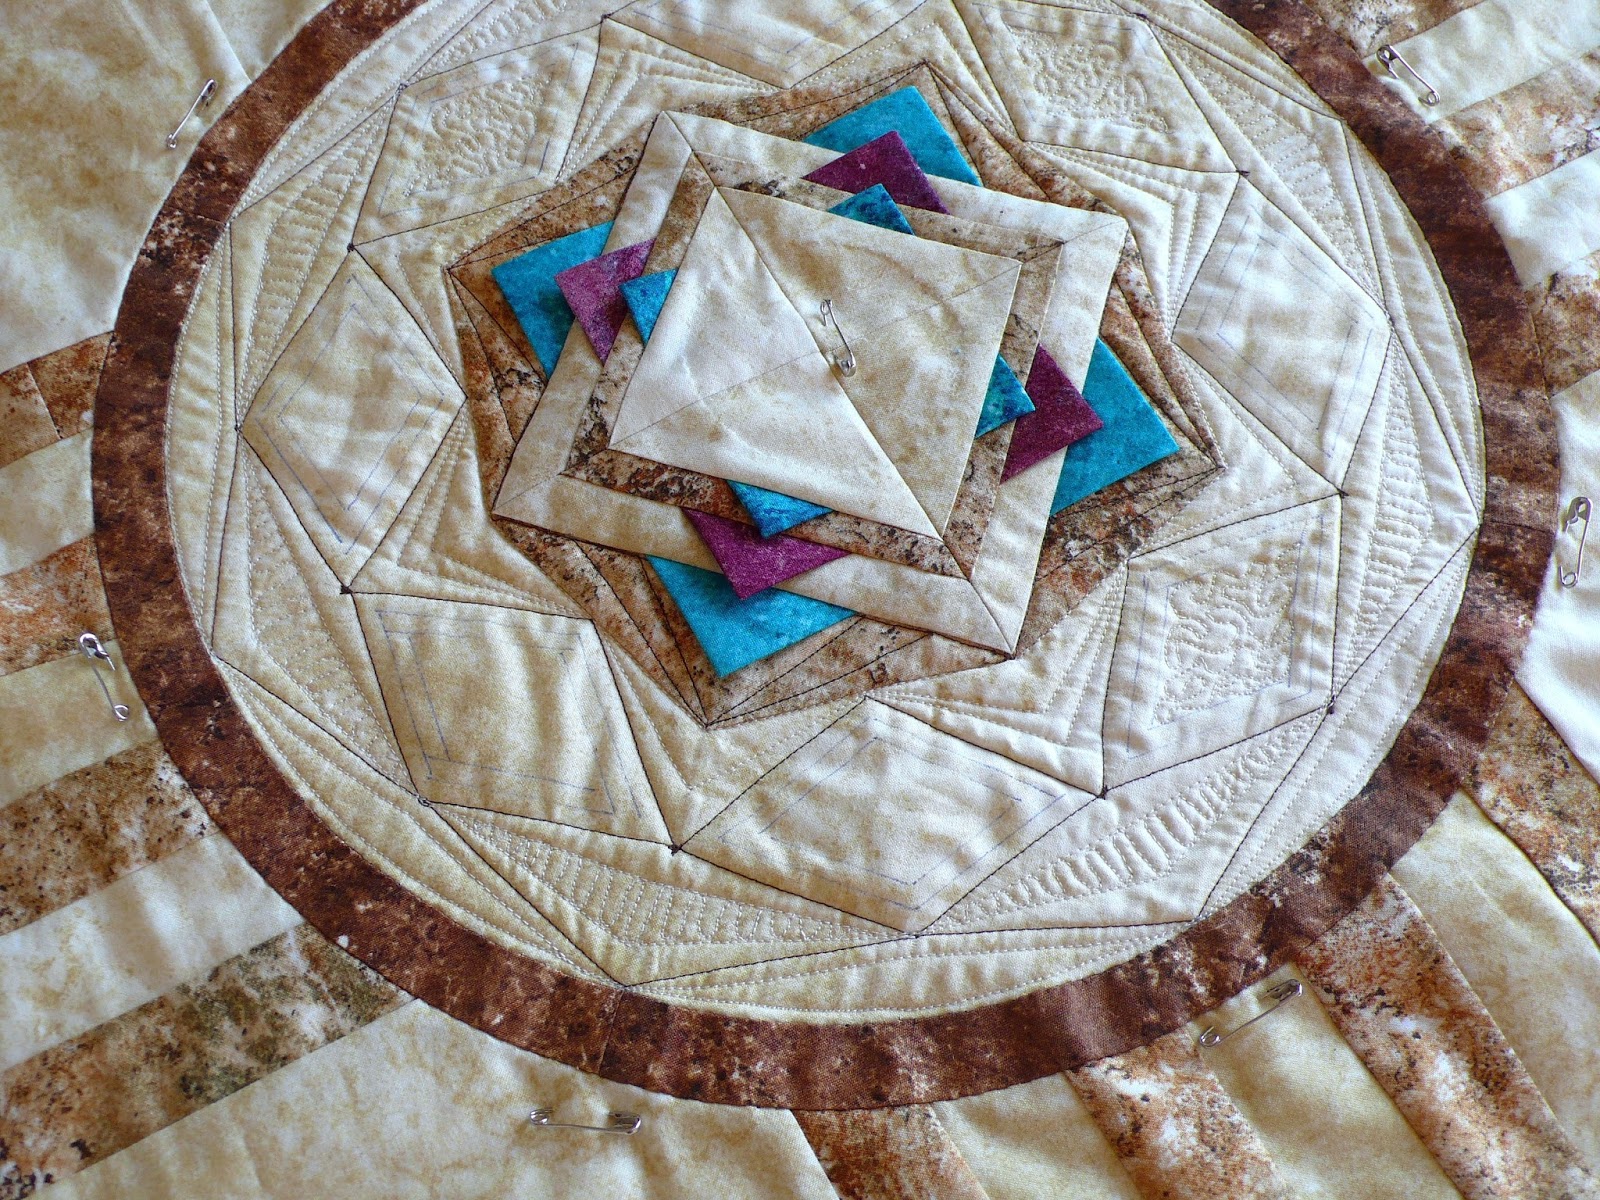
Right now I have started the quilting, beginning with the center medaillon.

Ben nu begonnen met het doorquilten, als eerste het medaillon in het midden.


Meanwhile I have also started something completely different, I am preparing the new Block of the Month for our Bee, this time it is going to be a star quilt...but more on that next time!

Ben inmiddels ook begonnen met een heel ander project, ben de nieuwe Blok van de Maand aan het voorbereiden voor onze Bee, deze keer wordt het een sterren quilt...maar meer daarover volgende keer!

Have a nice day and see you soon!
'till next time!
Essie


Sunday, 26 January 2014

Foundation Piecing with interface

Recently I joined a Yahoo group called Dear JaneSQT.
This group is for everyone who is making or wants to take on the journey to make a Dear Jane quilt and it is a great way to share and also for support.

Onlangs ben ik lid geworden van een Yahoo groep genaamdDear JaneSQT.
Deze groep is voor iedereen die een Dear Jane gaat of wil gaan maken en is ontzettend leuk om op deze manier met anderen te delen en ook voor steun.

Some of the ladies in the group asked me about my method of foundation piecing using interface, so I've made a little tutorial.

Sommige dames in de groep vroegen mij naar mijn werkwijze van "foundation piecing" (het werken op een ondergrond) met vlieseline, dus hieronder een korte uitleg.


I will show you my method by making a relatively easy Dear Jane block,  called Snowball (F-3).
I copy all my patterns directly from the book.

Ik zal jullie mijn methode laten zien tijdens het maken van een redelijk eenvoudig Dear Jane blok, genaamd "Snowball" (F3)


For my foundation piecing I use a very thin interfacing, I believe this one is "Vlieseline L-11"

Voor het werken op een ondergrond gebruik ik dunne Vlieseline, L-11 is dit geloof ik.


As this block cannot be pieced in one, we will need to divide it into sections (see red lines on picture).

Aangezien we dit blok niet in een stuk kunnen maken, moeten we het in stukken verdelen (zie de rode lijnen in de foto).


Trace each section onto the interfacing.
I always use a fine mechanical pencil for two reasons, you never need to sharpen it and it will always draw fine lines.
For straight lines I normally use my ruler.
Be careful with the interfacing as it is very delicate, press too hard with your pencil and it will tear easily.

Neem de lijnen van de delen over op de Vlieseline.
Ik gebruik altijd een vulpotlood ten eerste vanwege het feit dat je nooit je punt hoeft te slijpen en ten tweede geeft het een mooie smalle lijn.
Voor de rechte lijnen gebruik is meestal mijn liniaal.
Wees voorzichtig met de Vlieseline, als je te hard drukt met je potlood kan het makkelijk scheuren.


If you like you can put numbers on the pieces to show the order in which to sew. (see picture)
Please note that because we will be sewing on the drawn lines of the interfacing and the fabric will be at the back the block will eventually be a mirror image. For this block it doesn't matter as it is symmetrical. If not you can always redraw on the reverse side of the interface.


Als je het fijn vindt kun je de stukjes nummeren in de naaivolgorde. (zie foto)
Let op..omdat we naaien op de getekende lijnen en de stof aan de achterkant komt van de vlieseline hierdoor wordt het blok spiegelverkeerd. Voor dit blok maakt het niet uit want het is symmetrisch. Anders kun je de lijnen eventueel nogmaals overtrekken aan de andere kant van het Vlieseline. 


Cut out all the pieces you will need with a generous seam allowance. Better to cut a little bit off than to be just that little bit too short.
I always add a little extra on the outer edges of the block as well. (I mark them with "X" on my interface)

Knip alle benodigde stukjes uit met een ruime naad. Beter een stukje afknippen later dan net een klein stukje te kort komen.
Ik neem ook altijd iets extra naad aan de buitenranden van het blok. (ik zet voor het gemak een "X" bij deze randen op het vlies)


Pin your fabric to your interfacing wrong sides together.
As it is see-through you can easily "fussy-cut" a specific part of your fabric.

Speld je stof op je Vlieseline, verkeerde kanten tegen elkaar. 
Omdat het doorzichtig is kun je heel goed een specifiek stukje uit je stof selecteren.


Flip around, now pin your next piece of fabric to be sewn right sides together. If you've numbered this piece will be number 2.


Draai om en speld je volgende stukje stof hieraan met de goede kanten tegen elkaar.
Als je hebt genummerd is dit stukje 2.


Flip again and sew the line between piece 1 and 2
Sew the drawn line of the interfacing through all layers.

Draai weer om en naai de lijn tussen stukje 1 en stukje 2. Naai op de getekende lijn op het vlies door alle lagen.
Carefully fold back the interfacing and cut the seam allowance even.

Vouw voorzichtig het vlies terug en knip de naad netjes bij.
Fold over the piece you've sewn and finger press (or better use an iron) the piece.
In this matter sew all the pieces together.

Vouw het stukje dat je hebt genaaid om en strijk met je nagel of beter met een strijkijzer. 
Naai op deze wijze alle stukjes aan elkaar.


Once you've done that you should now have three completed sections and all you now need to do is sew these together..

..and your block will be finished!

Nu heb je als het goed is drie stukken compleet en het enigst wat nog rest is deze aan elkaar te naaien..

..en je blok is af!


I hope this explanation was helpful in some way to someone?
If you have any questions please don't hesitate to contact me, feel free to ask.

Ik hoop dat ik met deze informatie iemand heb kunnen helpen?
Als iemand vragen heeft neem gerust kontakt op.

"Till next time!
Essie